
White Balance
White what? you say. Yes this is a concept that if you have never had your camera off of Auto you are not familiar with, thats OK you will be soon. White Balance refers to the temperature and therefore the color of the light you are attempting to capture. To the human eye a white sign looks white regardless of where it is, in the shade, under Fluorescent lights, in full sun etc… The camera, no matter how much you paid for it, cannot adjust like the eye can and so it has to balance or neutralize the color shifts in the light. So there are various settings on every camera for this there is Auto White Balance (AWB) some photographers I now refer to this as “always wrong balance“, there are pre-programed settings i.e.: Sun, Shade, Fluorescent, cloudy and so on. Some cameras allow you to select white balance by color temperature (measured in Kelvin units) sunshine I believe is 5500 degrees Kelvin or 5500K. Then there is my favorite custom or Preset.
Our eye-brain connection renders all lights neutral so colors look consistent (the aforementioned sign example). The camera looks at the white and neutral colors in the frame and either automatically or manually shifts the balance to render them neutral thus rendering all colors accurately regardless of the light source.The camera can overcompensate and you can get accurate colors that are flat or lack warmth.
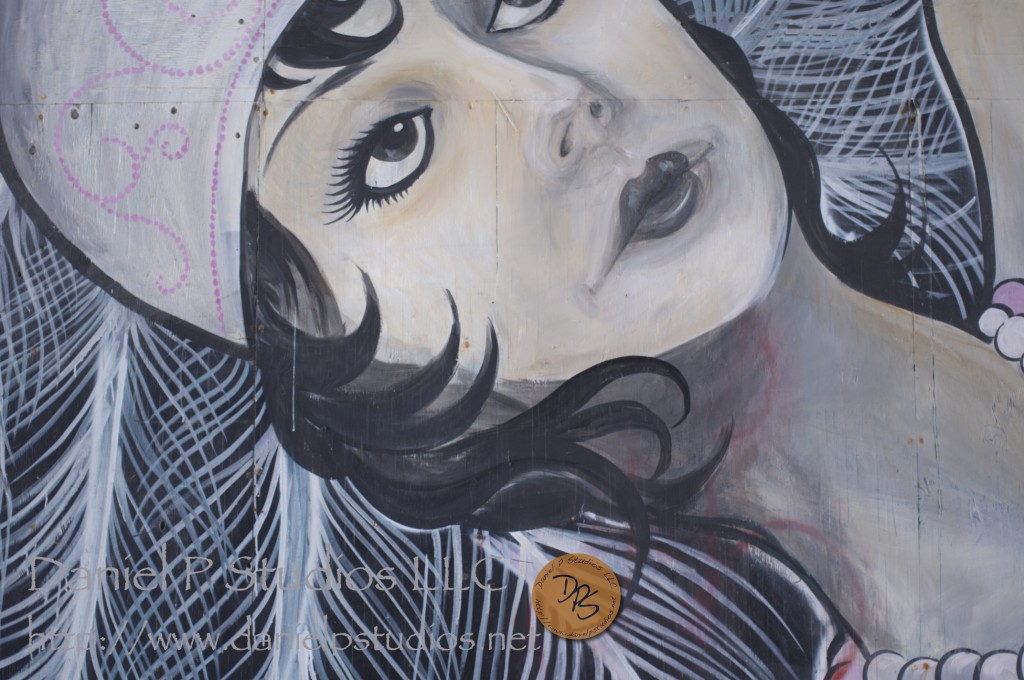
With this I use a great tool called The Expo Disc (about $99.00) http://www.expodisc.com The Image at the beginning of this blog is the correct and most accurate white balance and the white balance was set using the expo disc.
I set my camera to PRE (I shoot NIKON) Custom on CANON, and manual focus and go to where my subject is or if I cannot I aim the camera toward my subject and CLICK. I have my custom white balance setting and it is consistent all the way through. I do this again if my lighting situation changes noticeably. When I am in the studio I do this once and I am done for that session.
By adjusting the white balance based upon the situation you will save time in the post editing process and you will be happier and more satisfied with the images you capture. I like to get it right in the camera, I am not a huge Photoshopper I take 1-3 minutes to edit my files, if I need more I did something wrong on location.
The really cool thing is that with Digital you can play and see the result instantly so play, take a series of pictures of the same subject and adjust the White Balance each time and check out the results. Also take 5 or 6 pics of something on Auto White balance and see the variations in each when you compare them side by side.
Now if you want to get creative you can use white balance to achieve some interesting results. To make a winter day seem “colder” use the tungsten setting or warm up a sunset by using the “cloudy” pre programed setting. You get the idea, as I said with digital you see it instantly. All of the images below were taken within seconds of each other from a tripod at the same shutter speed, lighting conditions, Aperture & ISO settings, the only difference is the white balance preset that was used.
-

- Cloudy WB
-

- Direct Sun WB copy
-

- Expo Disc WB
-

- Flash WB
-

- Fluorescent WB
-

- Incandescent WB
-

- Shade WB
-

- Sodium Vapor WB